


Is a Wireless Ultrasound Scanner Image Clear Enough?
- 2026-09-18
- 32
- Guangzhou Sonostar Technologies Co., Limited
Image clarity is the first thing most buyers weigh — but it is not a single number you can compare across spec sheets. It comes down to transducer elements, active channels, operating frequency and the depth you actually scan. Fixating on one frequency figure rarely tells you how clear a wireless ultrasound scanner will be on the anatomy you examine every day.
Elements and Channels Set the Floor
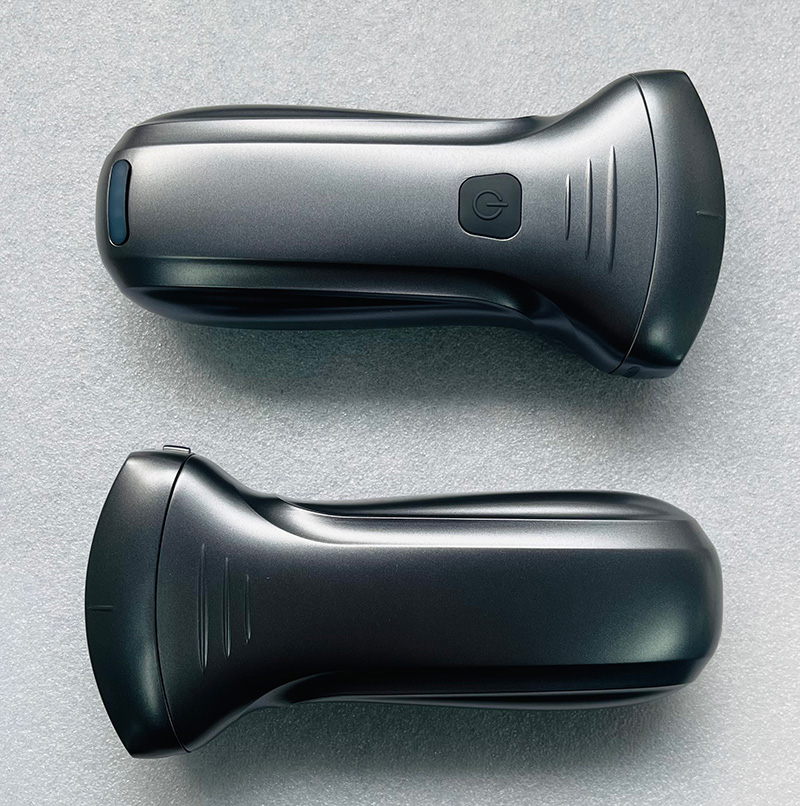
An ultrasound image is built by an array of transducer elements firing and receiving echoes. More elements, and more channels working at once, resolve finer detail and give a smoother, more layered picture. The SonoStar 9N linear probe and 8C convex probe share the same backbone — 192 elements across 64 channels — which is the hardware baseline for near-field and far-field clarity. A probe with fewer elements tends to look grainy up close; that is rarely a screen problem, it is an aperture problem.

Frequency Decides Fine Detail vs Depth
There is a real trade-off: a higher frequency resolves superficial structures sharply but does not penetrate deeply; a lower frequency goes deeper but coarsens the detail. With the same 192 elements and 64 channels, SonoStar runs two opposite routes:
| 9N (linear) | 8C (convex) | |
|---|---|---|
| Frequency | 10 / 13.2 MHz | 3.2 / 5.0 MHz |
| Depth | 20–60 mm | 90–305 mm |
| Scan geometry | ~25 mm width | R60 angle |
| Best for | Thyroid, small parts, superficial vessels | Abdomen, pelvis, deep views |
| Modes | B, B/M, Color, PDI, PW | B, B/M, Color, PDI, PW + harmonics |
he 9N is not "clearer" than the 8C — they are built for different depths.
Do Not Chase the Highest Megahertz
A common mistake is to equate a higher MHz with a better image. Frequency has to match the anatomy: a high-frequency linear probe gives crisp superficial detail but cannot reach deep organs, while a low-frequency convex probe reaches abdomen and pelvis but trades some resolution for penetration. The 8C adds reverse pulse harmonics and automatic vascular measurement specifically to lift the signal-to-noise ratio at depth. Matching frequency to anatomy matters more than chasing a bigger MHz number.
How to Judge Clarity in Person
Brochure images are always flattering. Judge the real thing on three points: the near field (just under the skin) should be clean; the far field (at your set depth) should not dissolve into noise; vessel and wall edges should be sharp, not blurry. The most reliable check is to ask the manufacturer to scan your actual anatomy on the device, side by side with the machine you already use.
Clarity Also Depends on Setup and Workflow
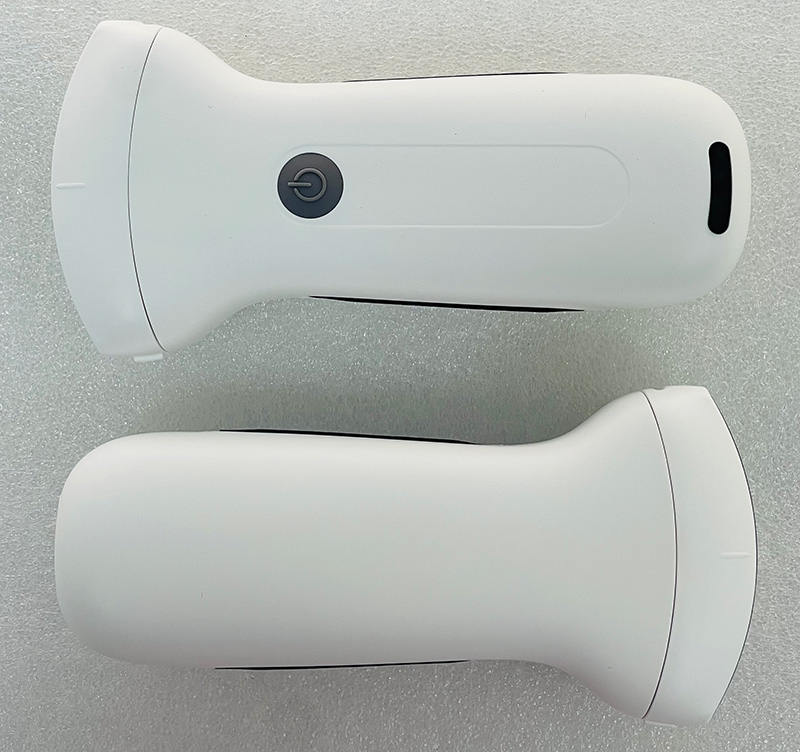
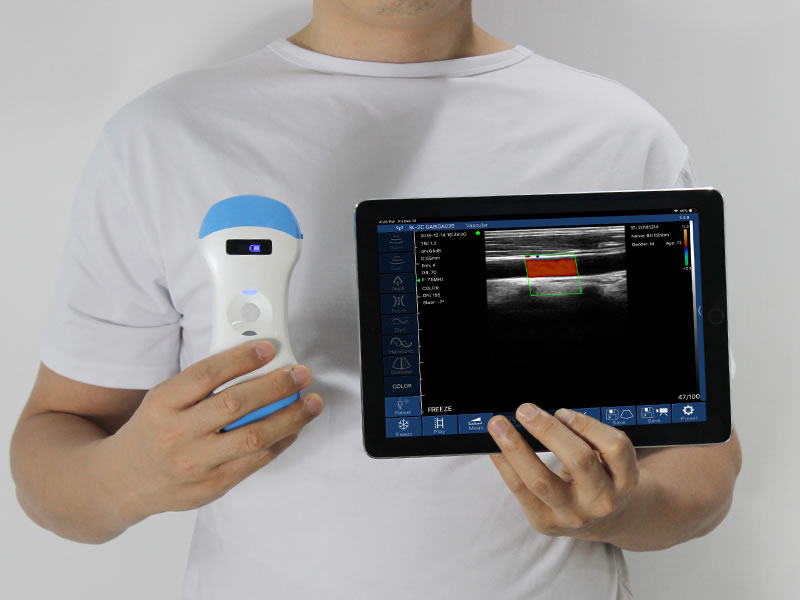
The same wireless ultrasound scanner can look washed-out if frequency, depth and gain are mis-set. SonoStar probes ship with body-part presets and the SmartUSG app for iOS, Android and Windows, so a user selects a preset instead of starting from a blank screen; images save as JPG, video loop or DICOM for later review. These do not raise the hardware resolution, but they keep the image quality consistent.
Start With Your Own Anatomy
A clear image is the result of enough elements and channels, a frequency matched to your depth, and a stable preset workflow. Pick a high-frequency linear probe for superficial exams and a low-frequency convex probe for deep ones, then ask the manufacturer to scan your own anatomy before you decide.
- Pre:3-in-1 Wireless Ultrasound Scanner: Do You Need One
- Next:No more




 Home
Home Product
 News
News Contact